
The Ultimate QR Editor
QR codes have become ubiquitous—on flyers, menus, business cards, and payments. But how exactly does a QR code translate data into a scannable pattern? Here's an intuitive breakdown of the process behind QR codes, step-by-step.
Everything begins with the data you want your QR code to carry. It could be:
The amount and type of data directly influence the complexity and size of the QR code you generate.


Once you have your data, the QR encoding process selects the most efficient way to represent it. QR codes support different encoding strategies, including:
Your data type determines which mode is optimal. Typically, QR generators automatically pick the best encoding strategy to produce the smallest, most efficient QR code possible.
[placeholder: Graphic illustrating how different data types match with encoding modes]
One powerful feature of QR codes is their built-in error correction capability. Error correction ensures the QR code remains scannable even when partially obscured or damaged.
QR codes use the Reed-Solomon error correction algorithm, which creates additional redundant codewords. There are four levels of error correction available:
[Error Correction Table]
Higher error correction levels produce more robust QR codes but require more space, resulting in larger codes.
[placeholder: Visual demonstration showing how error correction helps QR remain readable even if partly damaged]
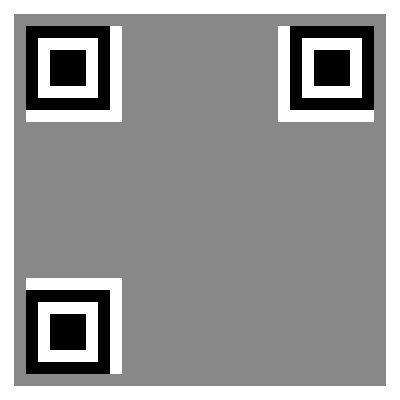
The final step involves mapping these binary codewords onto the QR code's characteristic grid of squares. The grid includes:
The data bits are carefully placed into a predefined layout, forming the distinctive visual pattern you're familiar with. Dark squares represent binary 1s, and light squares represent binary 0s.
[placeholder: Interactive graphic showing the step-by-step placement of binary data into QR modules]